JimDoty.org |
||||||||||||||
|
|
||||||||||||||
Support This Site
This site in: |
||||||||||||||
 |
|||||||||||||||
Canon 20D Color Digital Infrared Image |
|||||||||||||||
Color infrared photography with film and filters can yield some wonderful and oddly colored images, but the significant complications involved kept
most photographers from delving into the infrared realm. Kodak Ektachrome EIR film is great stuff but hard to work with. Fortunately, it is much easier to do color infrared photography with a digital camera. Now you can
have the fun of doing color infrared photography without all the hassles. Despite a lot of internet reports to the contrary, it is possible to do both color and black and white infrared photography with the Canon 20D
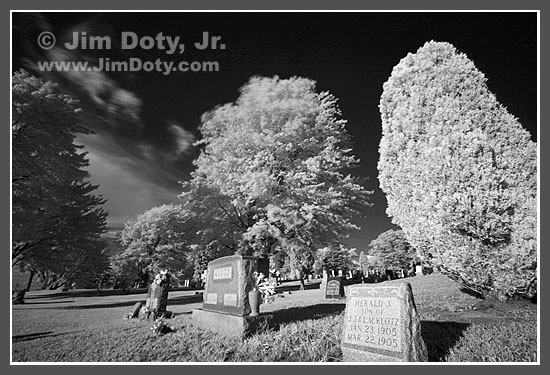
and 10D (and a number of other digital cameras). Black and white infrared photography is relatively simple. In addition to a camera and lens, all you need are a Hoya R72 filter, a tripod, and some basic (under
$100) image editing software. Information on how to do this was the subject of To do color infrared photography the equipment is the same, but the imaging editing software must be able to handle RGB color channels and LAB mode. Adobe Photoshop will do
this (along with several other kinds of software) but Photoshop Elements will not. |
|||||||||||||||
 |
|||||||||||||||
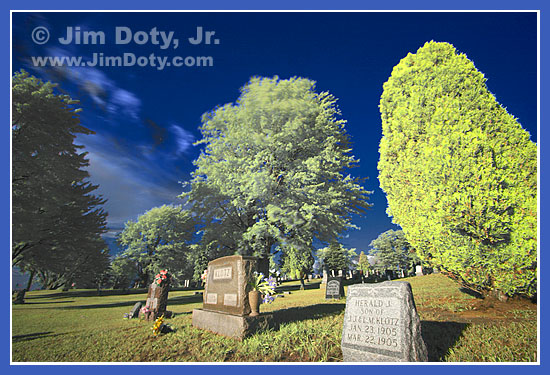
Original color image to be combined |
|||||||||||||||
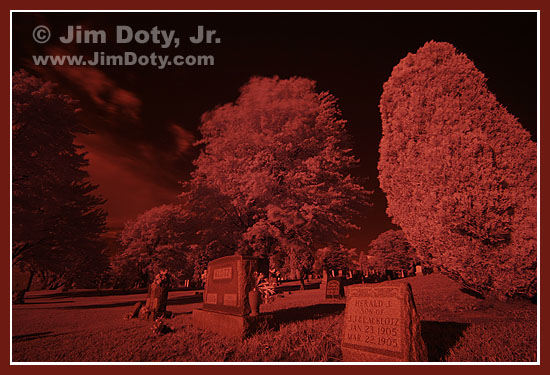
Taking the photo is the same as for black and white infrared, except that two identically registered photos must be taken. Immediately after taking the infrared image with the Hoya R72 filter, a normal color photo should be taken without the R72 filter. The camera should be on a tripod and the aperture for both photos needs to be the same. Be careful not to move the camera and tripod between the two photos. Except for the filtration, both photos should be identical. The two images will be combined later in the computer. |
|||||||||||||||
 |
|||||||||||||||
Original infrared image to be combined |
|||||||||||||||
Now you need to combine both images in the computer. Open both images in Photoshop (or the image editing software of your choice). Begin with the
normal color image. Select the entire image (CONTROL-A). Choose channels and click to select the green channel. Copy the green channnel (CONTROL-C). Select the blue channel and paste in the information from the green
channnel (CONTROL-V). Select and copy the red channel (CONTROL-C). Select the green channel and paste in the red channel information (CONTROL-V). What you have accomplished is to move the red channel info to green
and the green channel info to blue. Select (click on) the infrared image and select the entire image (CONTROL-A). Choose the red channnel and copy it (CONTROL-C). Go back to the normal color image and choose the red
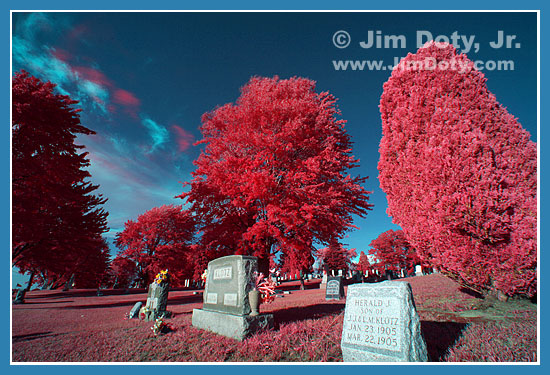
channel. Paste the infrared red channel into the color red channel (CONTROL-V). You now have a color image much like Kodak Ektachrome EIR with reddish-magenta vegetation and those unusual blue skys (top image of this
post). Note that the movement between the color and infrared photos resulted in non-registered sets of aqua-blue and pink clouds. You can use LEVELS and HUE/SATURATION to tweak the final image. Experiment by
moving the color channel information to different channels than the ones I suggested above. |
|||||||||||||||
 |
|||||||||||||||
Digital infrared image from combined |
|||||||||||||||
The digital infrared image immediately above was processed from the same color and infrared images, but in a different way. Open both images in Photoshop. Convert the normal color image from RGB to LAB mode. Go to the infrared image, and select the whole image (CONTROL-A). Choose the red channel and copy it (CONTROL-C). Go back to the color image and choose the LIGHTNESS channel. Paste the infrared red channel into the color LIGHTNESS channel (CONTROL-V). Now convert the color image from LAB mode back to RGB and tweak with LEVELS and HUE/SATURATION. The result is another rendition of color infrared that is unusual but less over the top. |
|||||||||||||||
 |
|||||||||||||||
Black and white infrared image |
|||||||||||||||


